


By the scanO editorial team. Updated September 2026.
Quick answer: Good interior design for dental clinic spaces starts with zoning, not décor. Separate the clinic into public zones (entrance, reception, waiting), clinical zones (operatories, sterilization, imaging) and support zones (storage, staff, utilities). Then plan a one-way flow for patients and a dirty-to-clean flow for instruments. Choose seamless, washable, non-porous finishes in clinical areas. Plan ventilation and plumbing before furniture. Check state clinical establishment standards, biomedical waste rules and AERB requirements before the layout is frozen.
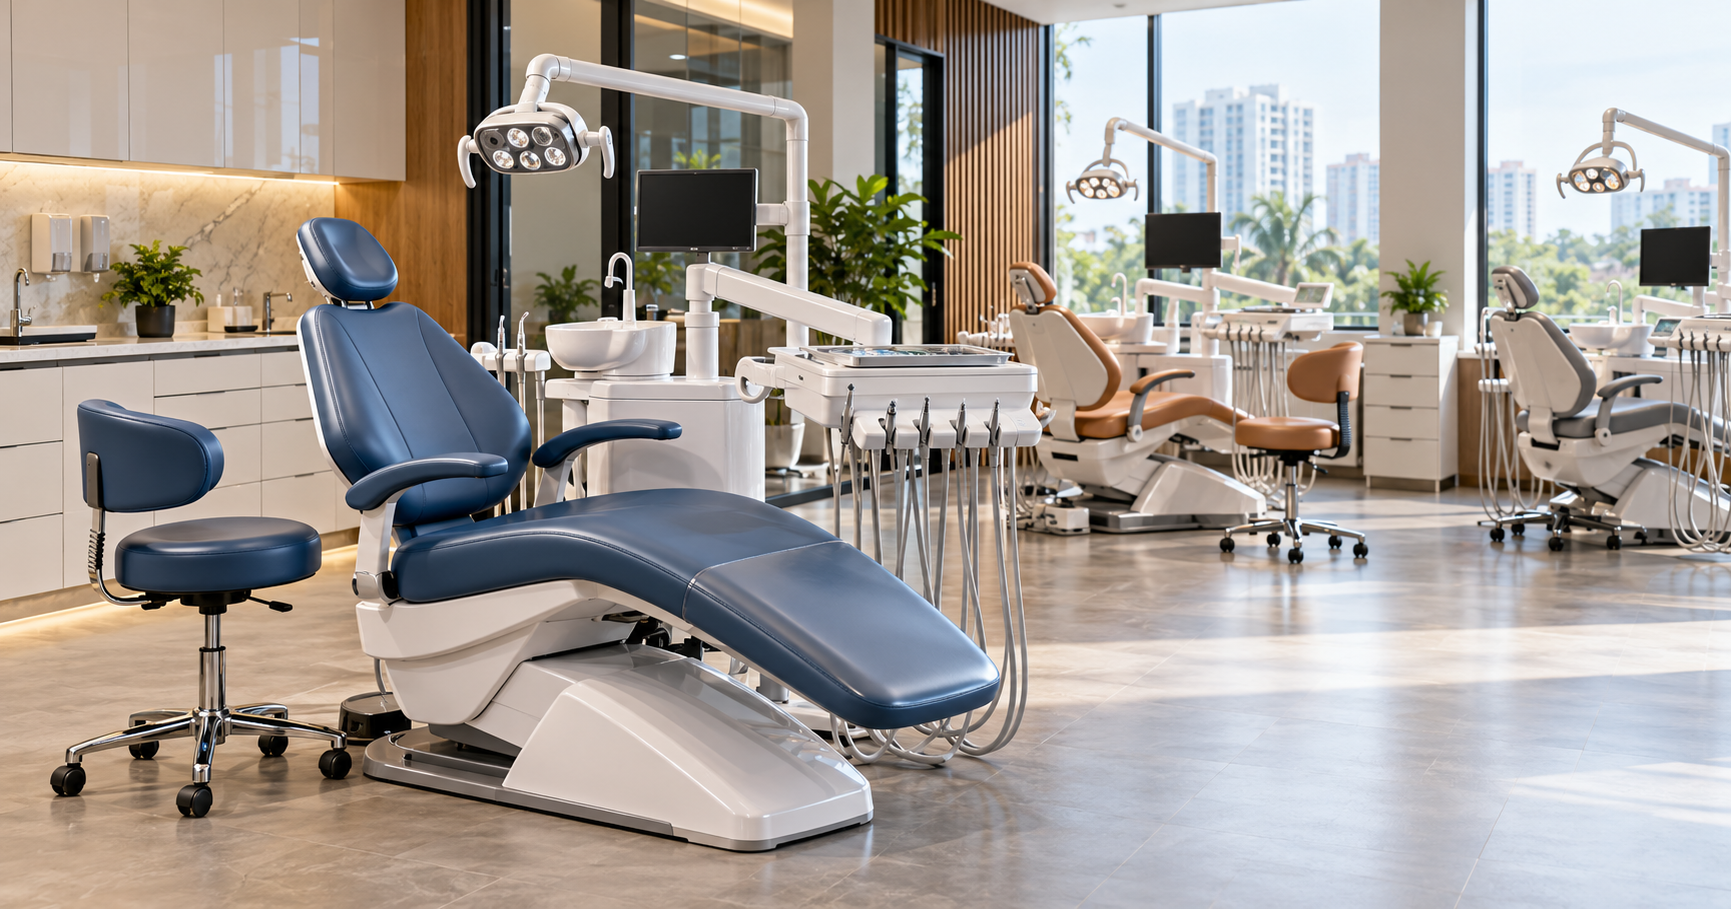
A dental clinic interior has to do three jobs at once. It must calm anxious patients, let the dentist and assistant work efficiently for hours, and make infection control easy rather than heroic.
This guide to interior design for a dental clinic shows how to zone the space, design each room, pick materials and brief a designer. The goal is a clinic that looks good and works well on a busy Saturday.
Before choosing colors or furniture, agree on five outcomes with your designer:
Zoning is the single most important step in dental clinic design. Use this table to map every zone before your designer produces a layout.
ZonePurposeKey design notesEntrance and receptionWelcome, registration, billingVisible from the door; counter at a comfortable height for standing patients; space for queue without blocking the entranceWaiting areaSeating, patient educationMix of seating; children's corner if you see families; wall space for posters and screensConsultation room (optional)Treatment planning discussionsUseful for implant, aligner and cosmetic case discussions away from the chairOperatory (one per chair)TreatmentChair, delivery system, assistant cabinet, sink, overhead light; see chair clearances belowSterilization roomInstrument reprocessingPositioned centrally between operatories; one-way flow from dirty to cleanImaging areaIntraoral X-ray, RVG, OPG if plannedLocation and shielding must follow AERB requirementsStore and lab cornerConsumables, impressions, modelsDry, ventilated, lockableStaff areaChanging, breaks, lockersSeparate from patient areasUtility or plant spaceCompressor, suction unit, water treatmentAway from the operatory to reduce noise; ventilated; accessible for servicingWashroomPatients and staffAccessible from waiting area without passing clinical zonesBiomedical waste holding pointSegregated waste storage before collectionColor-coded bins; away from food and waiting areas
Space norms vary by state. Some state clinical establishment standards set a minimum carpet area per dental chair and for the sterilization area. Registration and license detail sits outside the scope of this design guide.
Draw both flows on your floor plan before any furniture goes in.
Patient flow: Entrance → reception → waiting → operatory → (imaging if needed) → back to reception for billing and next appointment → exit.
Instrument flow: Operatory → dirty receiving counter in sterilization → cleaning (manual or ultrasonic) → drying and inspection → packaging → autoclave → sterile storage → back to operatory.
The two flows can meet at the operatory door, but used instruments should never travel through the waiting area. In small clinics, a sterilization room placed between two operatories, with a pass-through or two doors, keeps this simple.
LayoutHow it worksBest forLinear corridorReception at front, operatories along one side, sterilization at the middleNarrow shop-front or commercial unitsL-shapeReception and waiting on one arm, clinical rooms on the otherCorner units with two frontagesCentral hubSterilization in the center with operatories around itClinics with three or more chairsSplit levelPublic zone on ground floor, clinical rooms upstairsOnly where lift or easy stair access is available for elderly patients
The operatory is where most of the working day happens, so it deserves the most planning time.
Chair space and clearances. The room must allow the chair to recline fully. The dentist and assistant need room to move around the head of the chair. The patient needs a clear path to walk in and sit down. Exact figures depend on the chair model; our guide to dental chair size and operatory dimensions covers clearances in detail.
Services before furniture. Mark floor boxes or wall points for water inlet, drain, compressed air, suction and electrical supply at the positions your chair manufacturer specifies. Moving a floor box after tiling is expensive and disruptive.
Assistant zone. Plan cabinets and the sink on the assistant's side so that materials are within easy reach without crossing the patient.
Lighting. Combine good ambient ceiling lighting with the chair's operating light. Avoid bright fixtures directly above the patient's eyes when the chair is reclined.
Privacy. Full-height partitions or doors improve patient comfort and reduce noise spill into the waiting area.
For a checklist of what goes into each room, see our dental equipment list with names.
A sterilization room that is too small or badly organized slows the whole clinic. Design it as a straight line or U-shape with clearly marked zones:
In 2020, the Dental Council of India issued an advisory on dental clinic protocols. It asked that all instruments be disinfected, cleaned and packaged in color-changing sterilization pouches. The DCI was replaced by the National Dental Commission on 19 March 2026, so confirm current guidance with the NDC or your State Dental Council. Make room for a sealing machine and pouch storage near the packaging counter. Add a dedicated socket for the autoclave.
Plan biomedical waste bins near the point of generation. The Bio-Medical Waste Management Rules, 2016 require segregation into color-coded categories. Leave floor space for several bins in each operatory and at the holding point.
If you plan intraoral X-ray or an OPG unit, involve your equipment supplier early. The Atomic Energy Regulatory Board (AERB) manages dental radiology registration through its e-LORA system. Room size, shielding and operator position must meet its requirements. Do not let the interior designer place the X-ray unit purely for looks.
Clinical areas need surfaces that tolerate repeated disinfection. Public areas can be warmer and more residential.
SurfaceRecommended in clinical areasAvoid in clinical areasWhyFlooringSeamless vinyl or similar with coved skirtingCarpet, textured tiles with deep grout linesFewer joints to trap dirt; easy wet cleaningCountertopsSolid surface or non-porous quartz-type topsLaminates with exposed edges, natural woodResist moisture and chemicalsWallsWashable, scrubbable paint or wall claddingWallpaper, textured plasterEasy to wipe downCabinetsMoisture-resistant boards with sealed edges, handle-free or easy-clean handlesOpen shelving near the chairClosed storage limits aerosol contaminationCeilingSmooth, cleanable finish; access panels for servicesOpen ceilings in operatoriesDust control and cleanabilityUpholstery (waiting)Wipeable fabrics or leatheretteLoose-weave fabricsEasier to clean between patients
Confirm fire ratings, anti-slip ratings and chemical resistance with suppliers for every material.
Color. Soft neutrals with one or two accent colors from your brand palette feel calm without looking cold. Warm wood-look finishes in the waiting area help reduce the "hospital" feel.
Acoustics. Handpiece and suction noise can raise anxiety in the waiting area. Doors, acoustic ceiling panels in public zones and keeping the compressor out of earshot all help.
Ventilation. That 2020 advisory notes that adequate ventilation reduces infection risk through dilution and removal of infectious particles. Discuss fresh air supply and exhaust for each operatory with a mechanical consultant rather than relying on split air-conditioners alone.
The reception is the first clinical impression your patients get. Plan it around three activities: registration, waiting and patient education.
Reception design should support privacy, consent and clear patient communication. If you plan AI screening with scanO air, give it a spot in reception with some privacy, so patients can complete the intraoral image capture and review their visual report without an audience. It does not replace a clinical examination, diagnosis, radiographs, or treatment planning, which remain the dentist's responsibility.
Clinic typeDesign prioritiesIdeas that workSingle-chair clinicCompact flow, multi-use spacesReception doubling as billing; sterilization alcove with clear dirty and clean sidesTwo to three chairsCentral sterilization, noise controlSterilization between operatories; consultation room for case discussionsPediatric focusComfort, distraction, safetyRounded furniture, play corner visible from reception, ceiling visuals above the chairCosmetic and aligner focusPremium feel, consultation privacyConsultation room with a large screen for smile discussions; soft lighting in waitingMulti-specialty or groupScalability, clear signageNumbered operatories, color-coded wayfinding, separate staff corridor
Interiors are usually one of the largest items in a new clinic's spend, alongside equipment and rent. Cost depends on carpet area, finish level, services (plumbing, electrical, air and suction lines), city and contractor. For line-by-line budgeting, use our dental clinic setup cost guide for India, which covers interiors in the context of the full launch budget.
Zoning and flow. Separate public, clinical and support zones. Plan a one-way path for patients and a dirty-to-clean path for instruments before choosing colors, furniture or décor.
Seamless vinyl or similar sheet flooring with coved skirting is widely used in clinical areas because it has few joints and is easy to wet-clean. Confirm slip and fire ratings with the supplier before ordering.
Ideally in the center of the clinic, between operatories. Used instruments then travel a short distance without passing the waiting area. Arrange it in a straight line or U-shape from dirty to clean.
It depends on the chair model and how many people work at the chair. Plan for full recline, movement around the head of the chair and a clear walking path. Check your state's clinical establishment standards for any minimum area.
Soft neutrals with one or two accent colors from your brand palette usually feel calm and modern. Warmer tones and wood-look finishes in the waiting area help reduce the clinical feel.
Reserve a floor spot near a power point, away from the main walkway, for any patient-facing device such as a screening kiosk or education screen. Keep a semi-private corner nearby for consent conversations.
Planning your reception? If you want patient screening to be part of the first impression, see how scanO air fits into a clinic reception layout on the scanO air page, and plan the rest of your launch with our dental clinic setup cost guide.